
Facebook’s Business Manager platform is key to managing your business on Facebook.
Every business with a presence on Facebook, or businesses that want to grow a presence on Facebook should use Business Manager
What Is Business Manager?
Business Manager – often shortened to BM – is a free platform that you will use to manage your pages, ad account, pixels, and users.
Business Manager will act as your home base for everything on Facebook.
A Business Manager is kind of like a filing cabinet. It stores assets (Facebook Pages, Facebook Ad Accounts, etc.), and gives the right people access to those assets.
Who Needs a Business Manager?
The short answer? Everyone.
Any business who is using Facebook or plans to use Facebook for their business should use Business Manager.
When I say “Facebook”, I mean Facebook, Instagram, Facebook Ads, Facebook Pixel. Basically any tool businesses use that is provided by Facebook.
Here’s a few examples of people who should have a business manager:
- You have a small business and have a Facebook business page.
- You plan to use Facebook Ads to grow your business.
- You manage multiple Facebook or Instagram pages
- You manage Facebook Ads for other businesses.
- You have multiple people who manage your Facebook or Instagram presence
- You work with a freelancer or marketing agency.
Basically, if your business is on Facebook, you need a Business Manager.
Who Should Create The Business Manager?
Now that you know who needs a Business Manager (the answer is everyone), you need to know who will create the Business Manager.
Please follow this section carefully.
In the previous section, “Who needs a business manager?”, I told you that your business needs one. So the first order of business is actually creating your Business Manager.
It is very important that the right person creates the Business Manager.
Let me explain.
- Every Facebook user can only create two Business Managers. That’s the cutoff! Two. Facebook doesn’t care how many businesses you own or how many you want to create. YOU ONLY GET TWO.
- Once you’ve created a Business Manager, IT CANNOT BE DELETED.
Believe me – I fell into this trap when I started advertising on Facebook, and I’ve talked with Facebook reps about this.
You only get two, and you can’t delete them.
Why does this matter?
Well, you need to make sure that the right person goes into Facebook and sets up the business’s Business Manager because there are no take backs.
So who is the right person?
The right person is the person who is most likely going to be with the business forever. The idea here is that you want to create one Business Manager for your business, and never change the Business Manager.
So the right person is usually the owner or founder.
If it’s just you, great! Go ahead and create your Business Manager!
If you’re the head of marketing, you might be the right person, but remember that this business manager will be stuck to you forever. So if you use up your two Business Managers creating them for your employers, then go off to start your own business, guess what? You can’t make a new one for your business.
You’ll have to ask someone else to make it for you, or you can repurpose one of your current Business Managers (this involves having someone else create an identical copy of your Business Manager, then you can remove everyone and everything from your Business Manager, rename it, and start using it for your new business). This is exhausting so don’t do it!
Why do I know this? I did it. I used up my two business managers, one of them for a business that I stopped working at. I had to have the owner create a Business Manager, transfer all of the assets and permissions over, then take the shell of the former one and repurpose it as my new Business Manager.
Save yourself the headache and just have the right person create it, okay?
Great.
How To Create a Business Manager
Now that you know you’re the right person, or you’ve gone and gotten the right person, you’re ready to keep going.
Login to facebook.
Type business.facebook.com in the url, or click here.
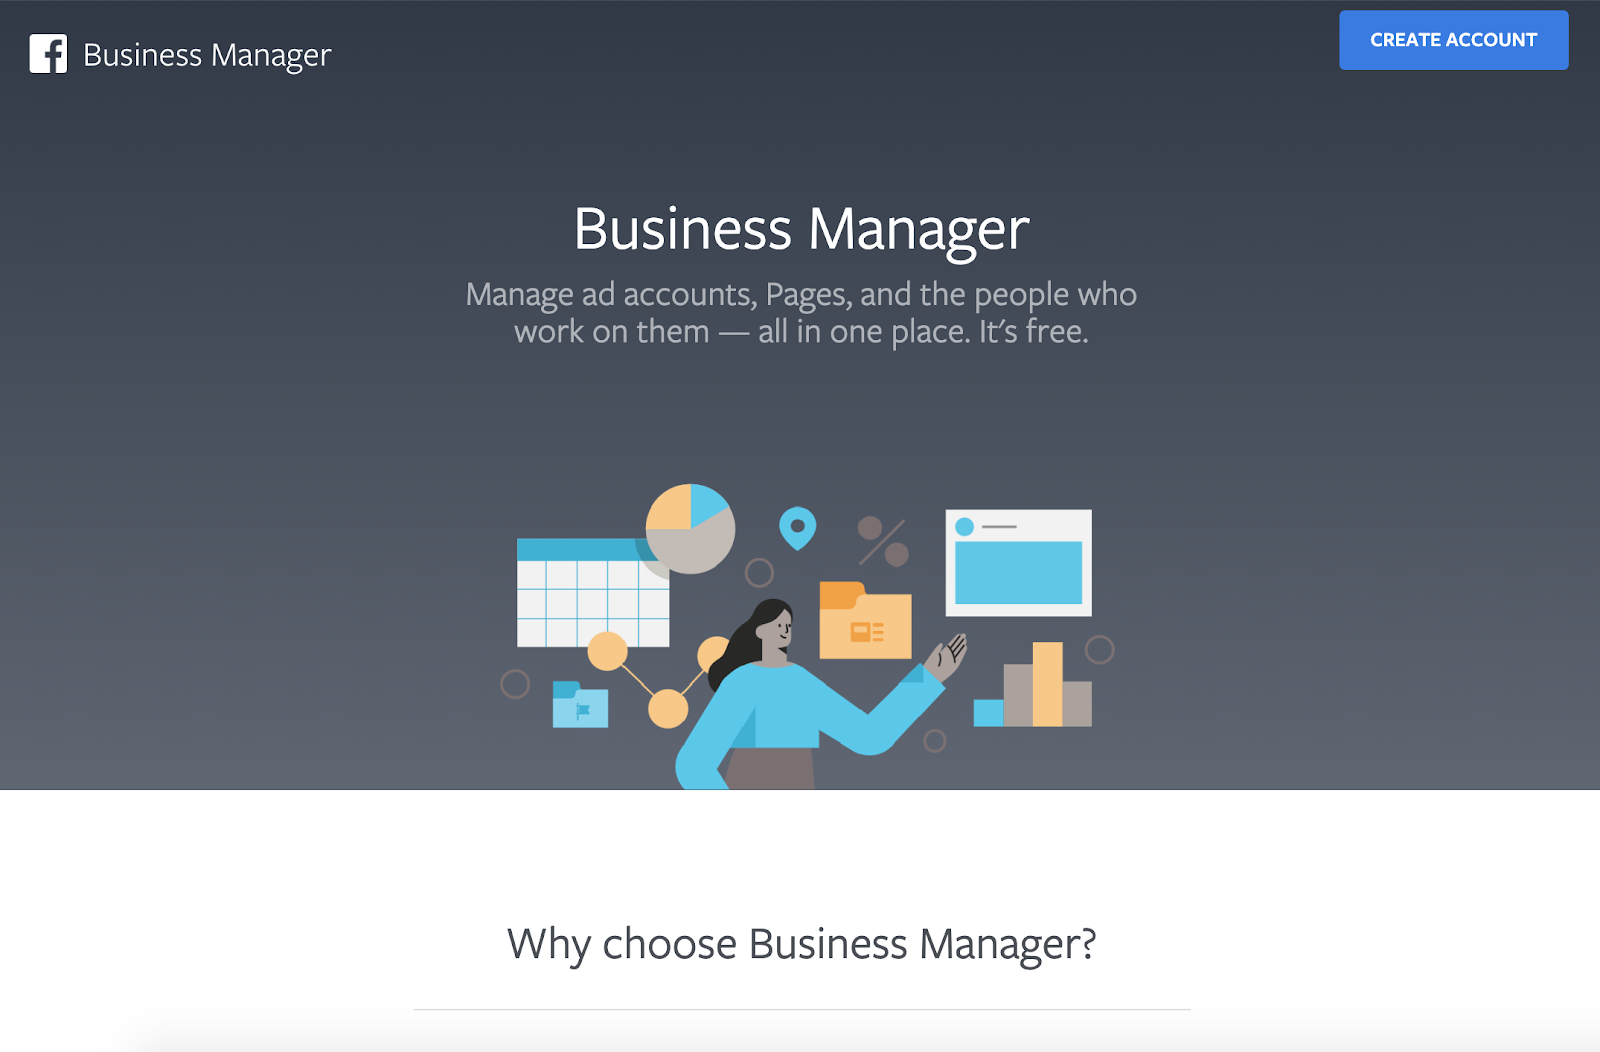
You should land on this page:
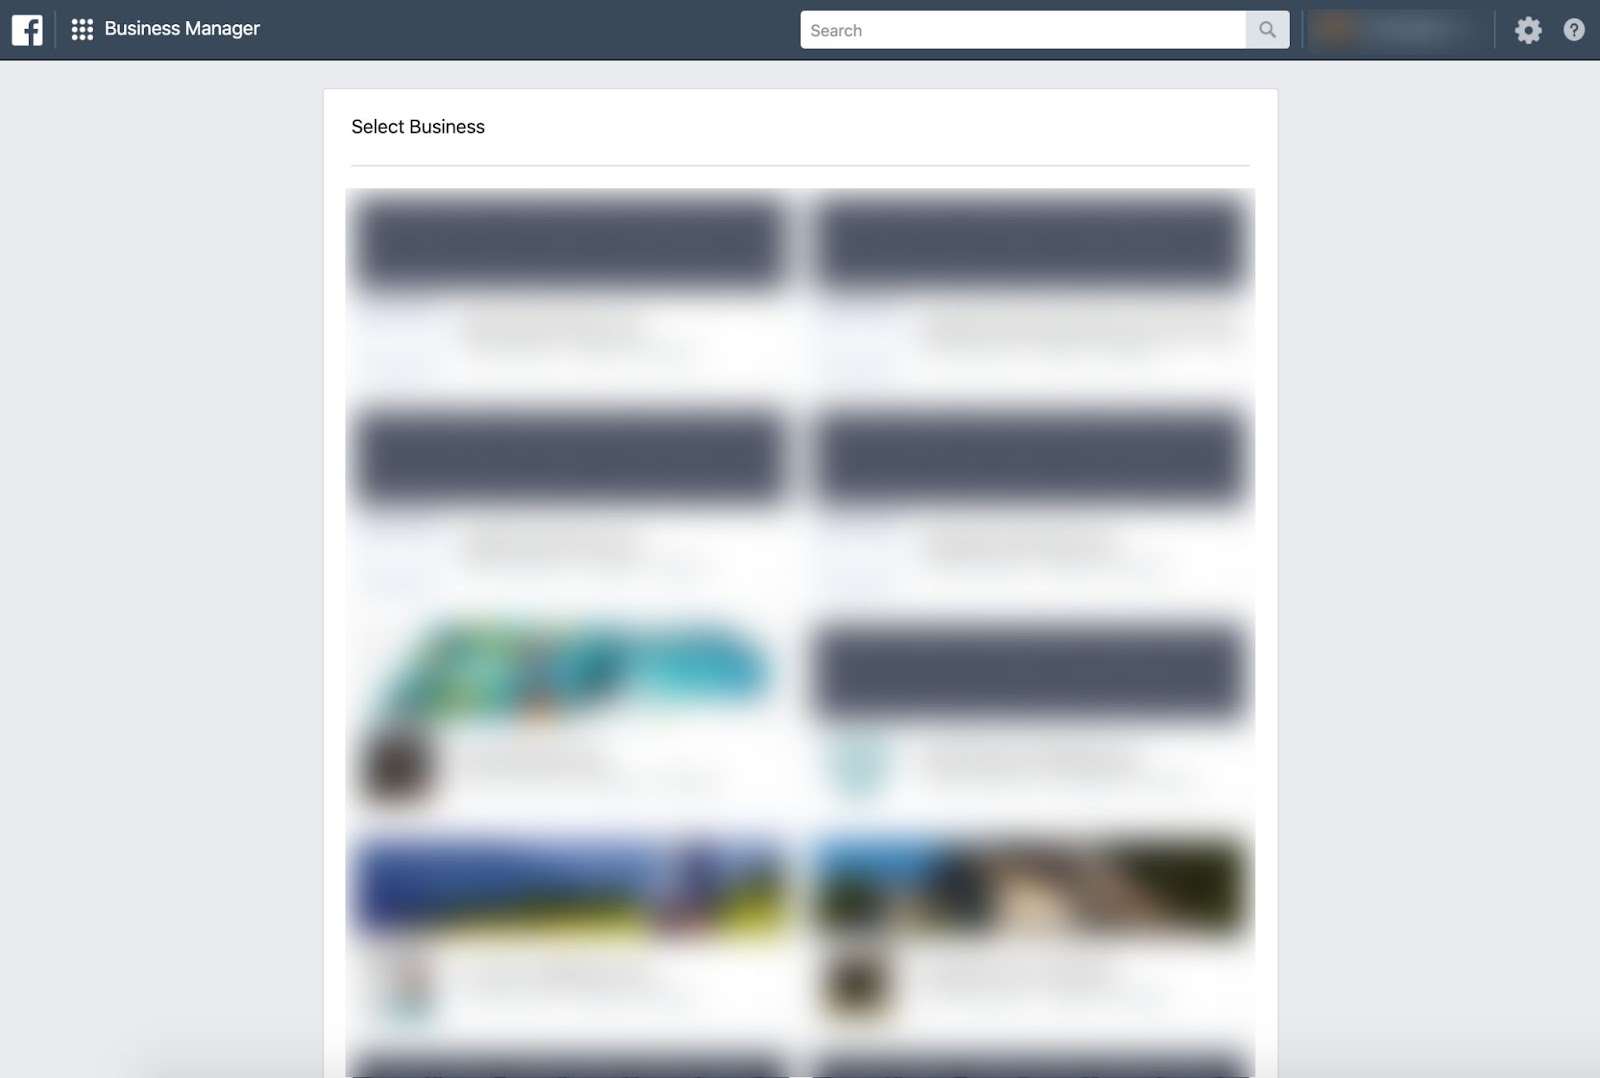
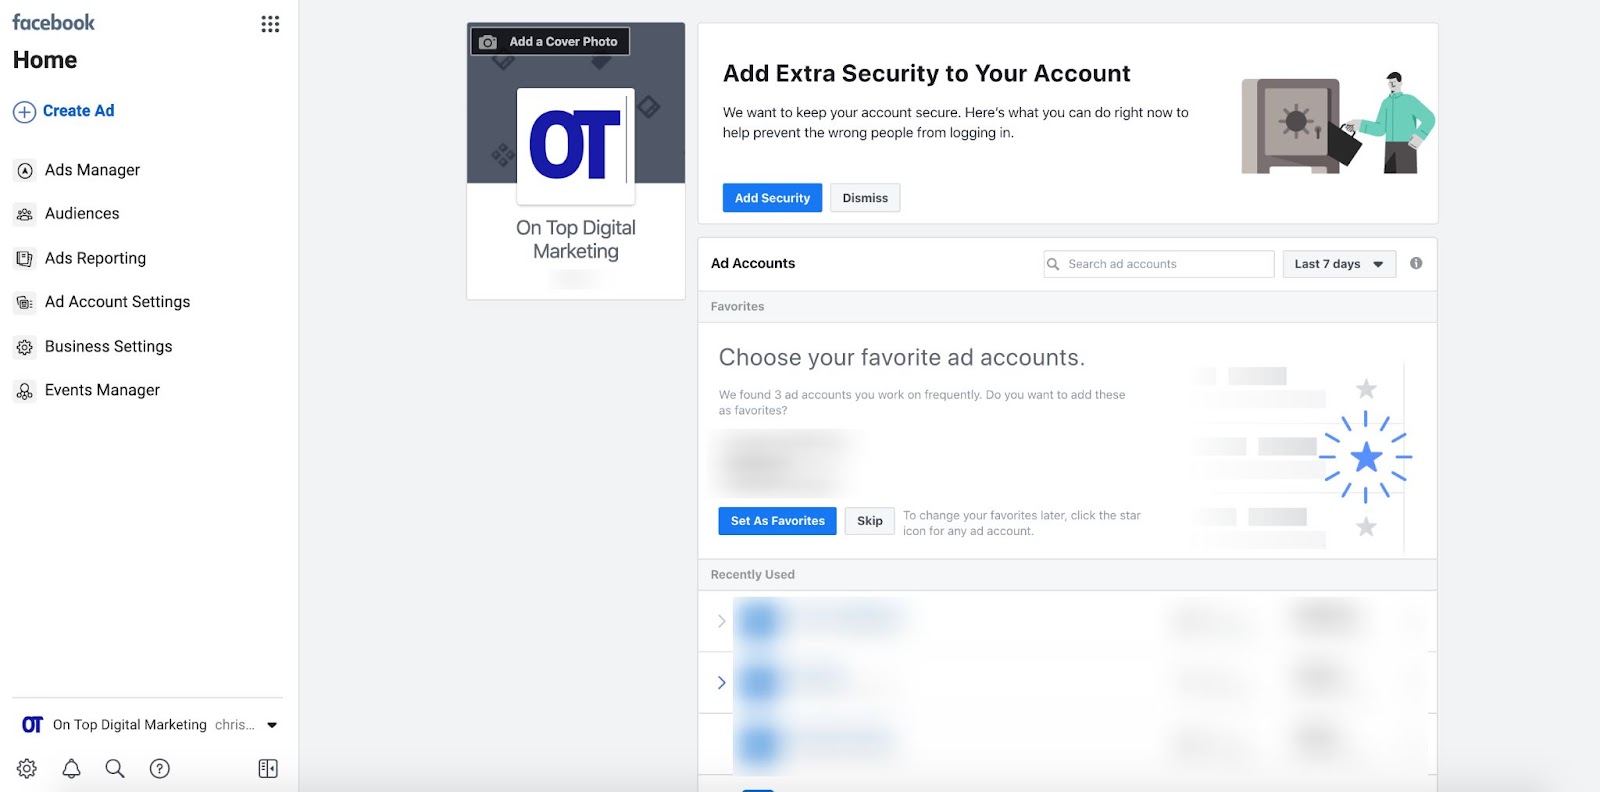
Or it could look like this:
If you landed on the first page, it means that you have no access to business managers. You can go ahead and start creating a new business manager by clicking on “Create Account”. Click HERE to skip down to your next step.
If you landed on the second page, it means that you already have access to a business manager. You can see from the screenshot above that I have access to many Business Managers. You may find here that you actually don’t need to create a new Business Manager, and you can just skip down to the “How To Setup Facebook Business Manager” section.
If you see this page and still want to create a new Business Manager, your next step here is to go to business.facebook.com/overview. This page will give you the option to click “Create Account”.
Great. Now everyone who doesn’t already have a Business Manager, and who already has access to one (and still want to make a new one) is here at the same step after clicking “Create Account”.
You should see this popup.
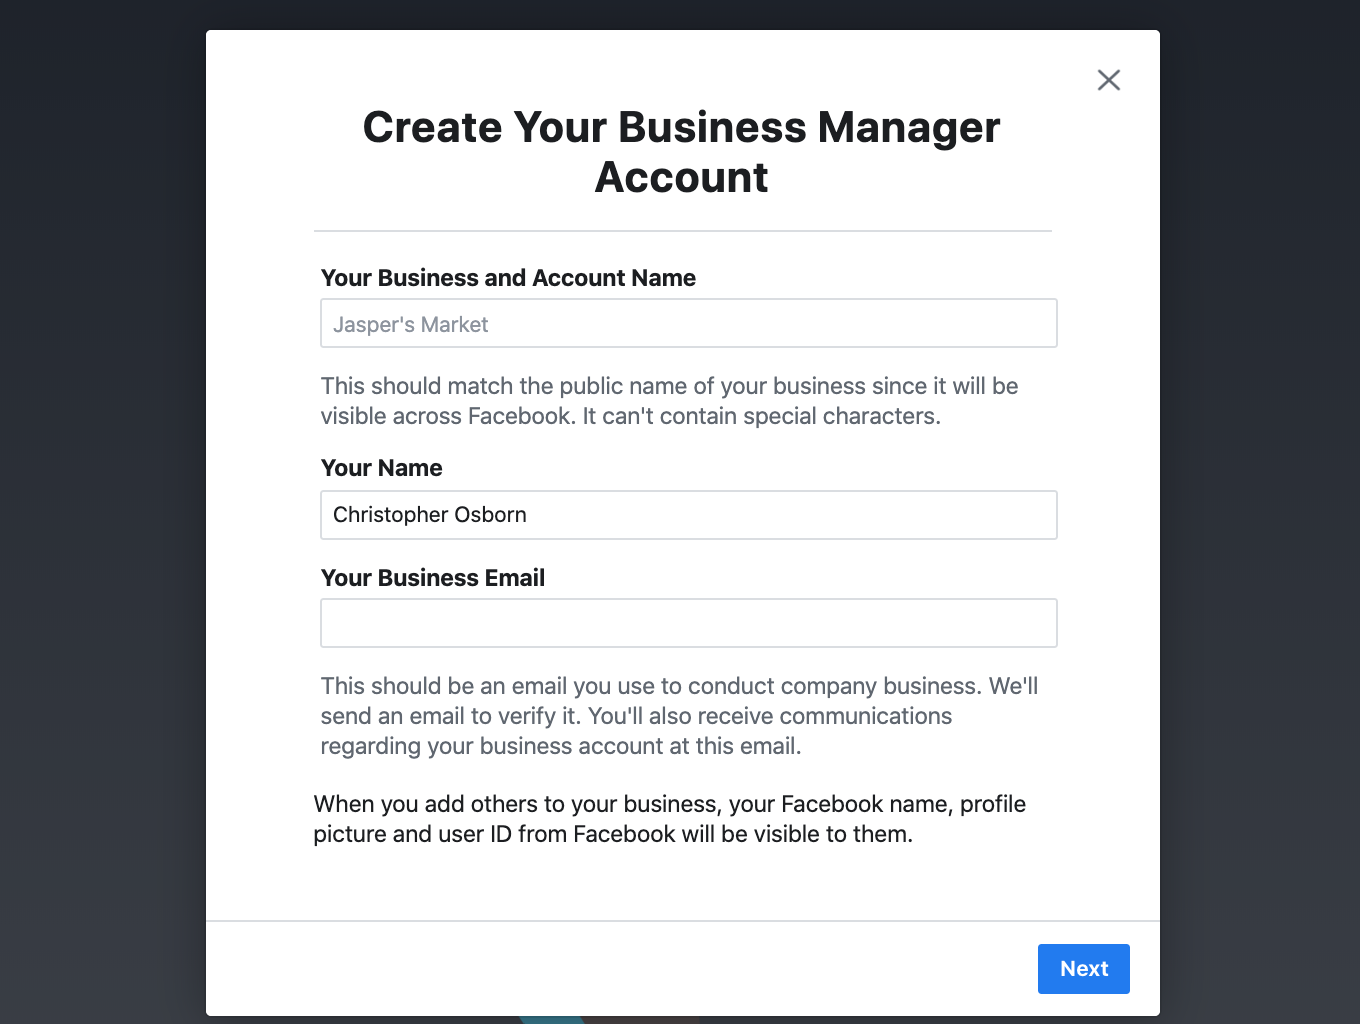
Go ahead and name your Business Manager. Keep it simple and name it after your business!
Enter your name, and your business email, then click “Next”. This step is pretty straightforward.
Now you’ll see this page.
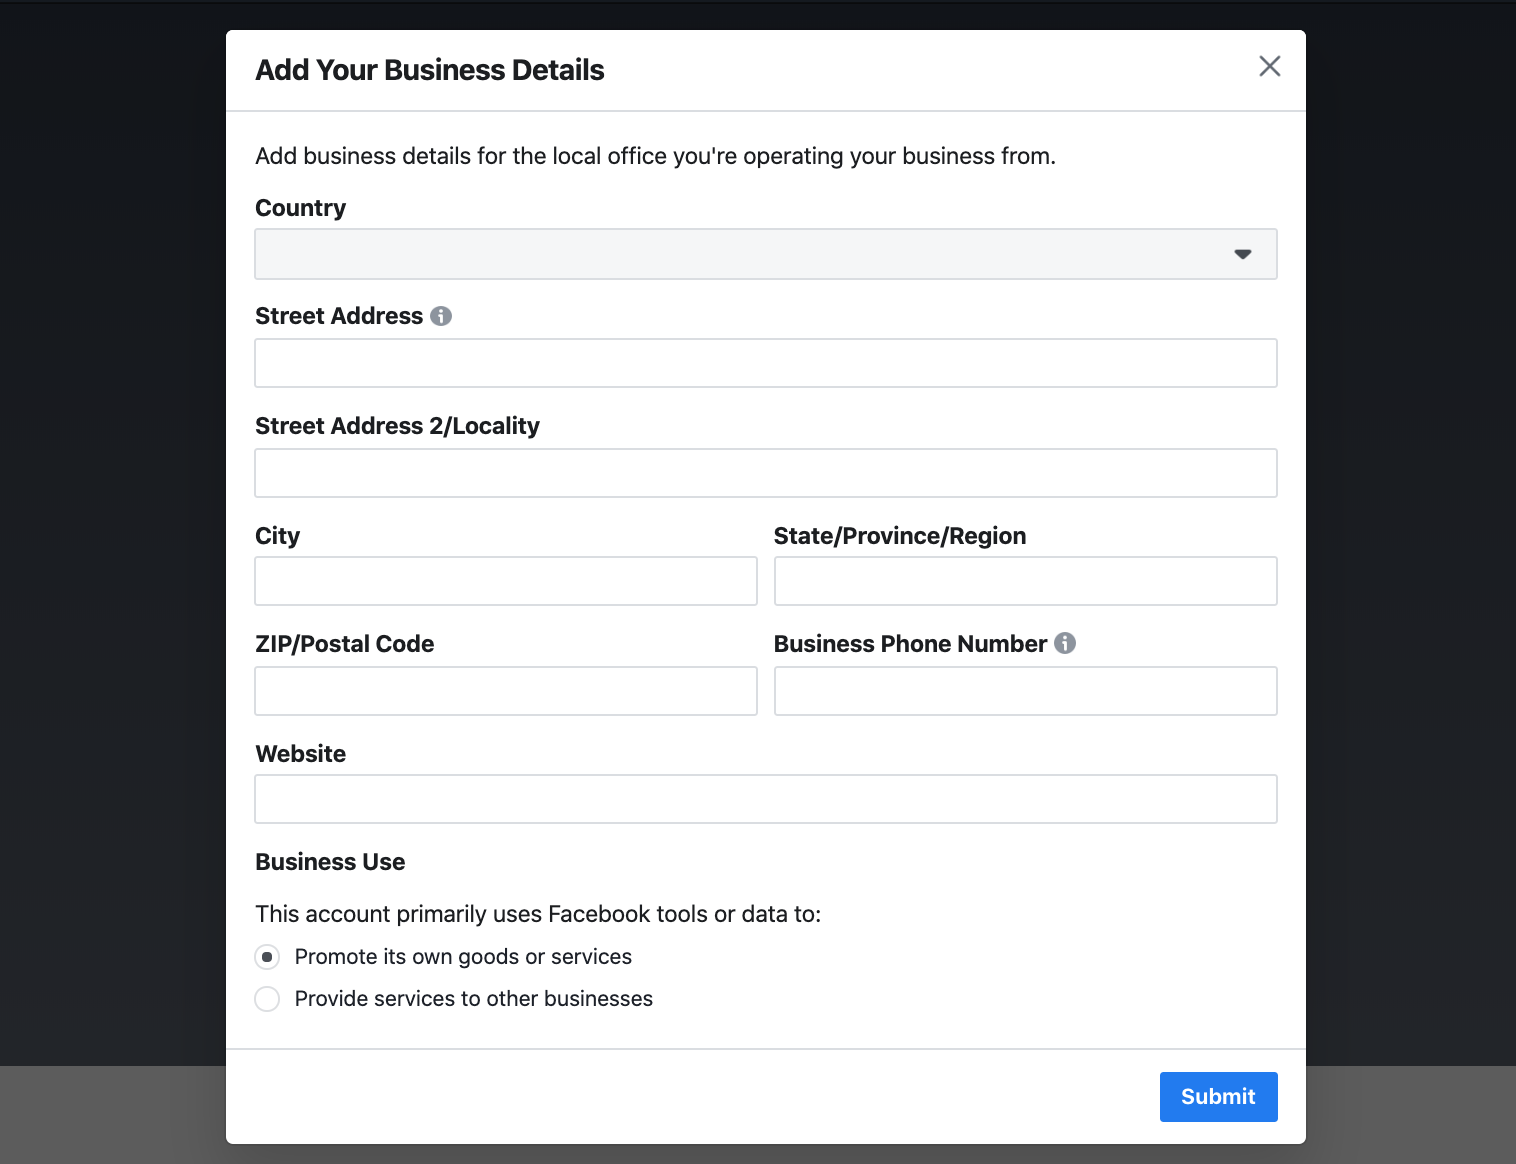
Go ahead and fill out your business information.
I’ll only comment here on “Business Use”. If you are an agency managing Facebook assets for other businesses, select “Provide services to other businesses”.
If not, and you’re using this Business Manager to manage your own business, leave “Promote its own goods or services”. This is straightforward, but I just know that somebody is going to ask me, and this is meant to be the definitive guide to Business Manager.
Once you’ve filled this out, hit “Submit”.
If the following error pops up, it means that you’ve hit your two Business Managers maximum. You may need to repurpose an existing Business Manager for this business, or you can ask someone you trust to use one of their two Business Managers and create one for you. Close family or business partners are a couple of options.
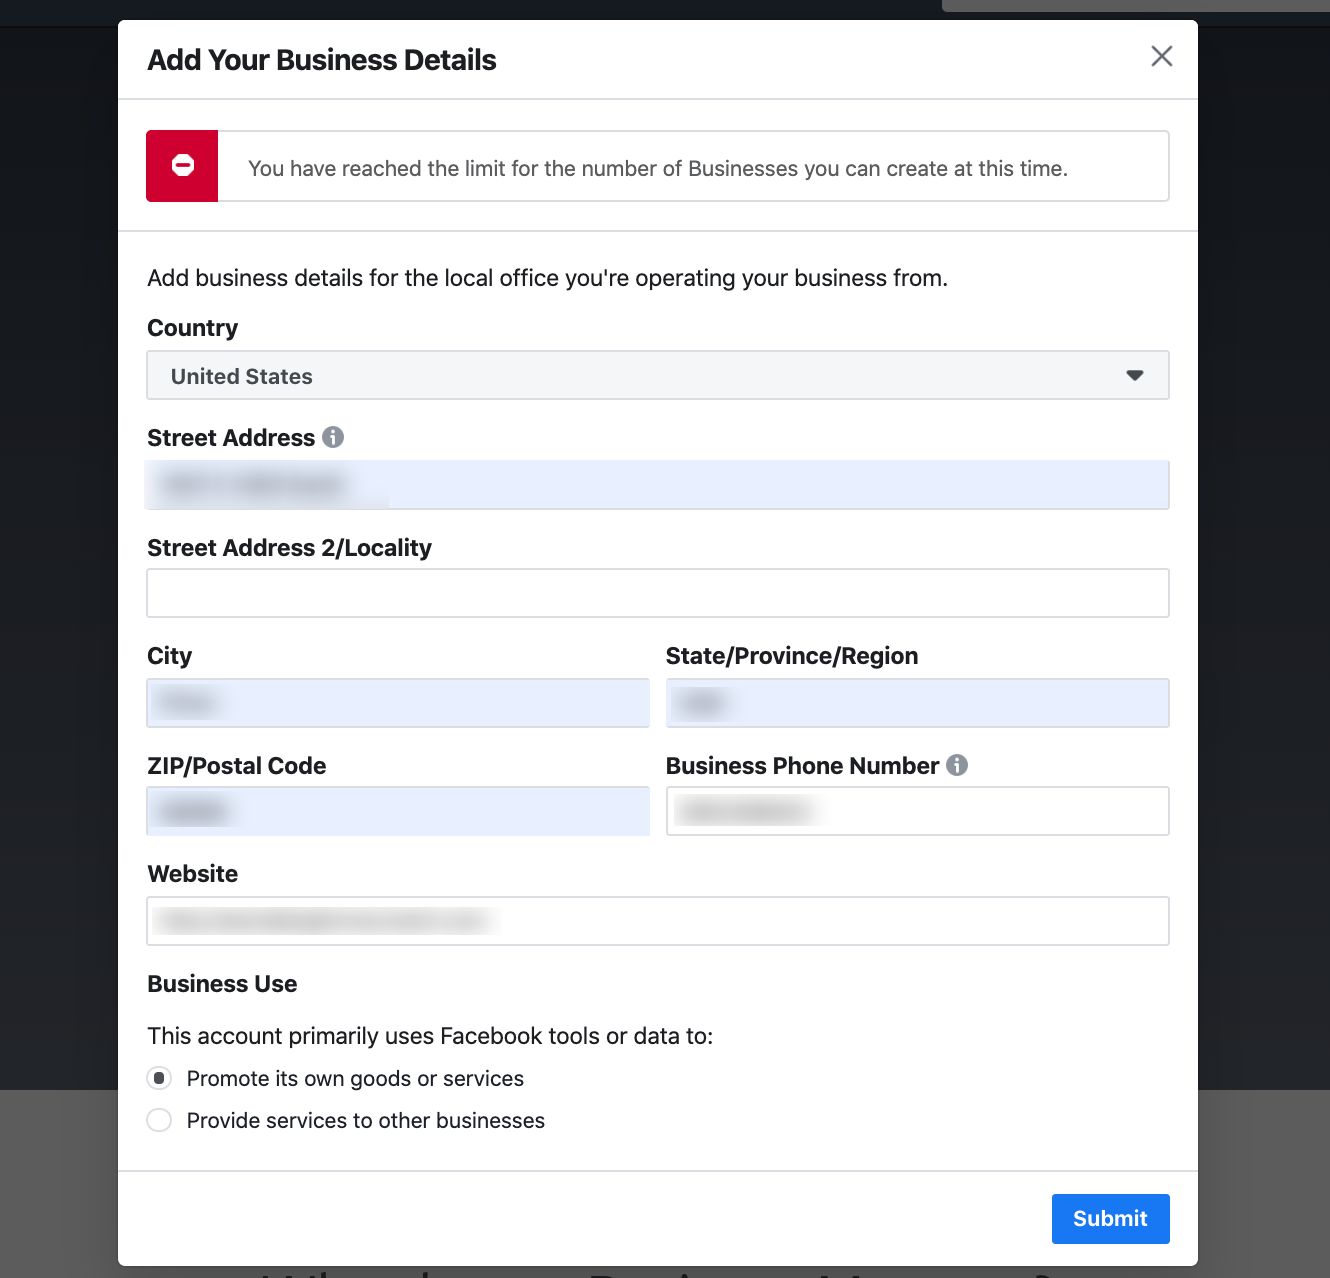
If you don’t see this error, go ahead and finish creating your Business Manager by clicking “Submit”.
How To Setup Your Business Manager
Once you’ve created your Business Manager, you need to set it up so you can start using it to manage your business on Facebook.
There are a few vital pieces of setting up your Business Manager that I’ll go over in this post.
- Adding your Facebook page
- Adding your Instagram account
- Adding your team
- Adding or creating your Ads Manager (if you’re advertising)
- Creating your Facebook Pixel (if you have a website)
1. Add your Page to your Business Manager
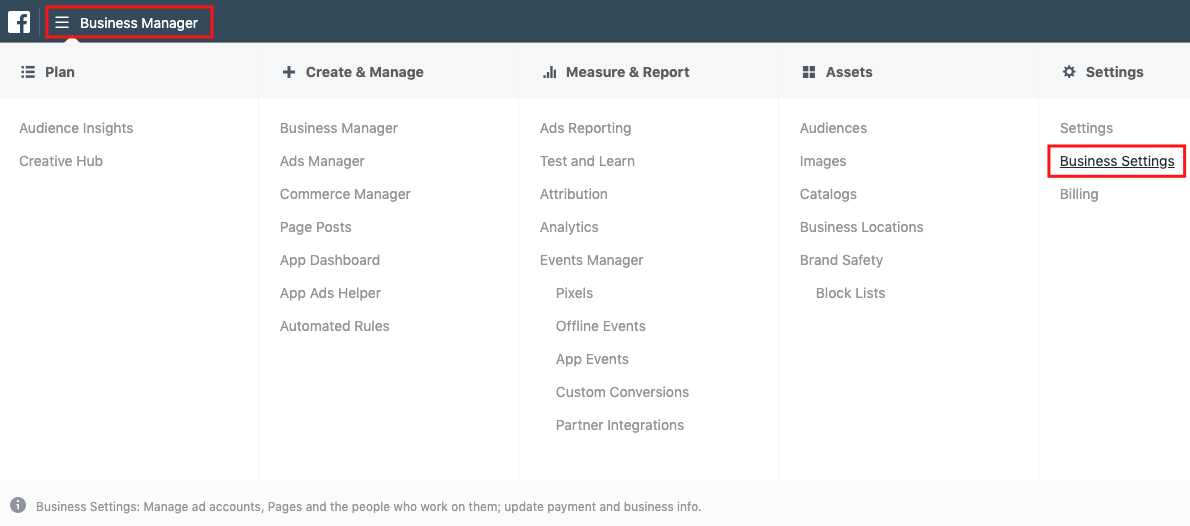
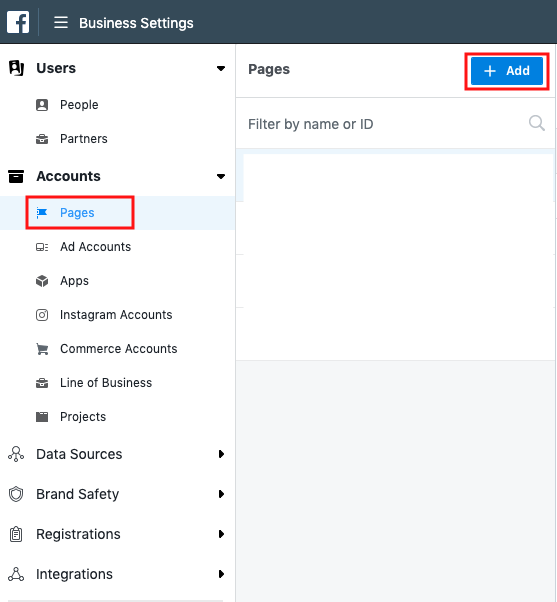
Go to your Business Manager settings page by clicking on “Business Settings” on the left hand bar or clicking on the small gear in the bottom left corner. Or go to business.facebook.com/settings.
*Note, Facebook is constantly updating the tools and so what you see may not look identical to my screenshots. But I trust you enough to figure it out if yours looks different.
You should land on a page that looks like this:
This is the Business Manager Settings page; your home base for everything you do in Business Manager. You’ll get very comfortable with this page.
Pro Tip: Whatever page you’re on, a quick way back to the settings page is by going to the hamburger menu in the top left corner (it’ll be named whatever page you’re currently viewing), then choosing Business Settings under Settings.
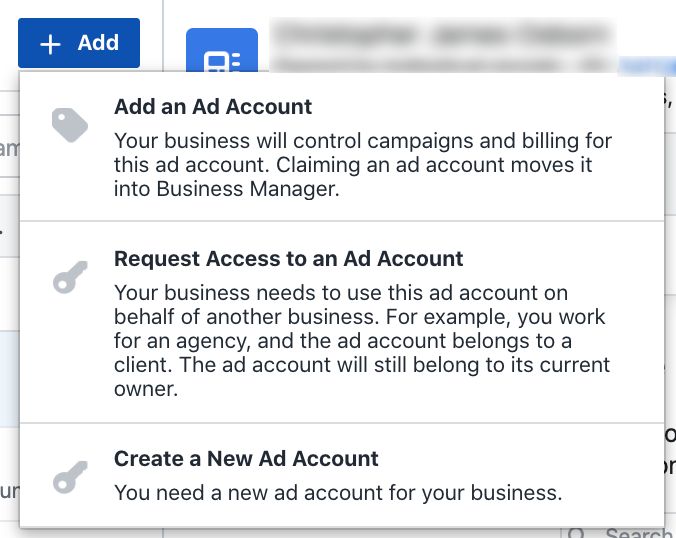
On the left-hand bar, choose Pages, then click on + Add.
You’ll have an option to add a page, request access to a page, or create a new page.
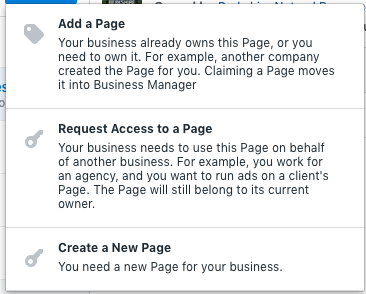
If you don’t have a business Facebook Page, it will guide you through creating one.
If you already have a Facebook page for your business, then you’ll just add that page to your Business Manager.
Before you can add a page, you need to already be an admin of that page. If you are not an admin, you can ask for admin access from another admin, or you can have an existing admin add the page to the Business Manager.
To add the page, you’ll first need your Facebook Page name or URL.
Start typing the name of your Facebook Page and it should show up.
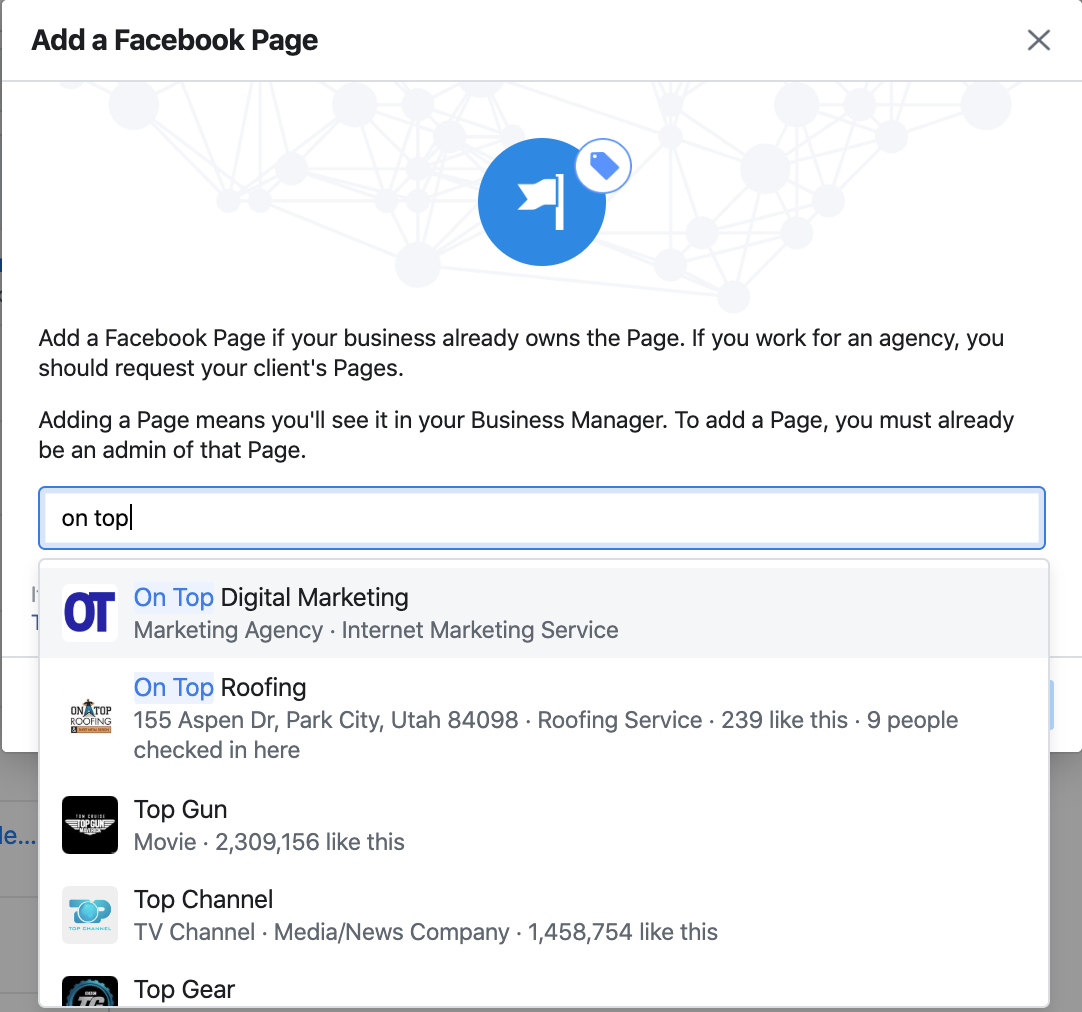
If it doesn’t — don’t stress — follow these steps to get your URL quickly:
Open Facebook, then click the arrow in the top right corner. Then choose the page you want to add under Your Pages.
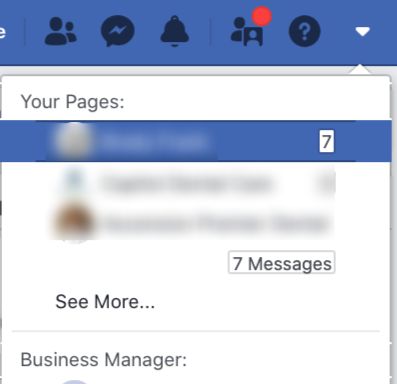
It will open your page manager view. Just copy the URL and paste that back into your Business Manager.
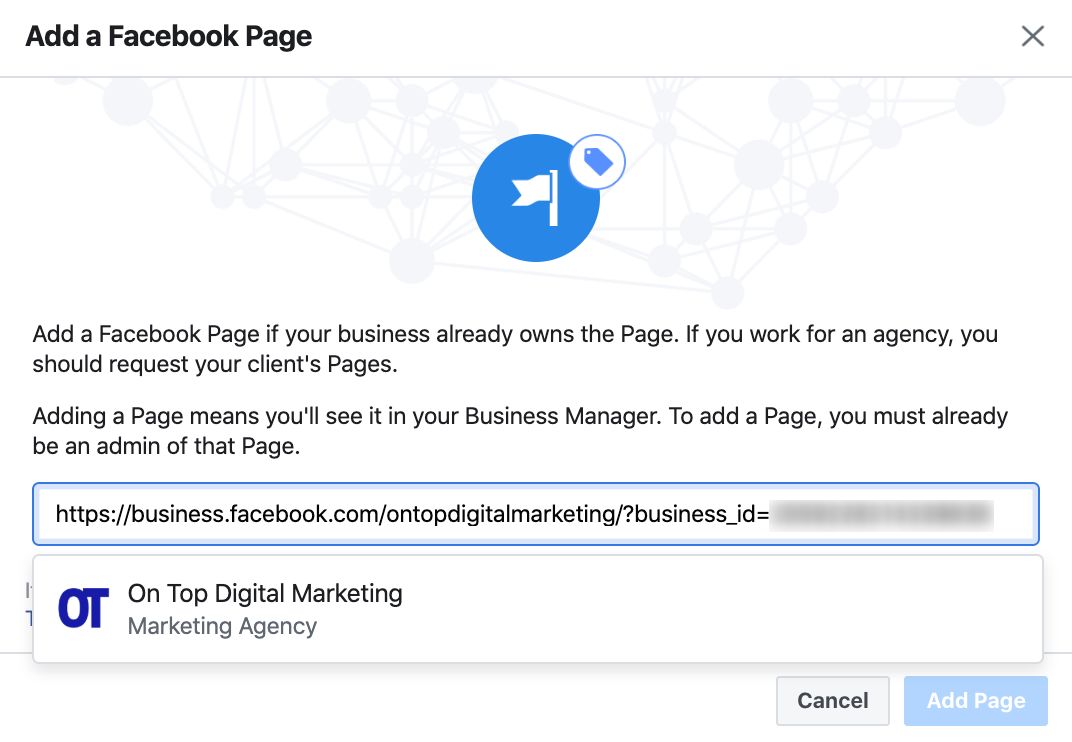
Select the right page, hit Add Page, and you’re done!
2. Add Your Instagram Account To Your Business Manager
Next we’ll add your Instagram to your Business Manager.
This step is pretty simple and similar to adding a Facebook page.
Start by selecting “Instagram Accounts” on the left bar.
Here you will see all of the Instagram accounts that you have access to. To add a new account, select “+ Add” and this will popup:
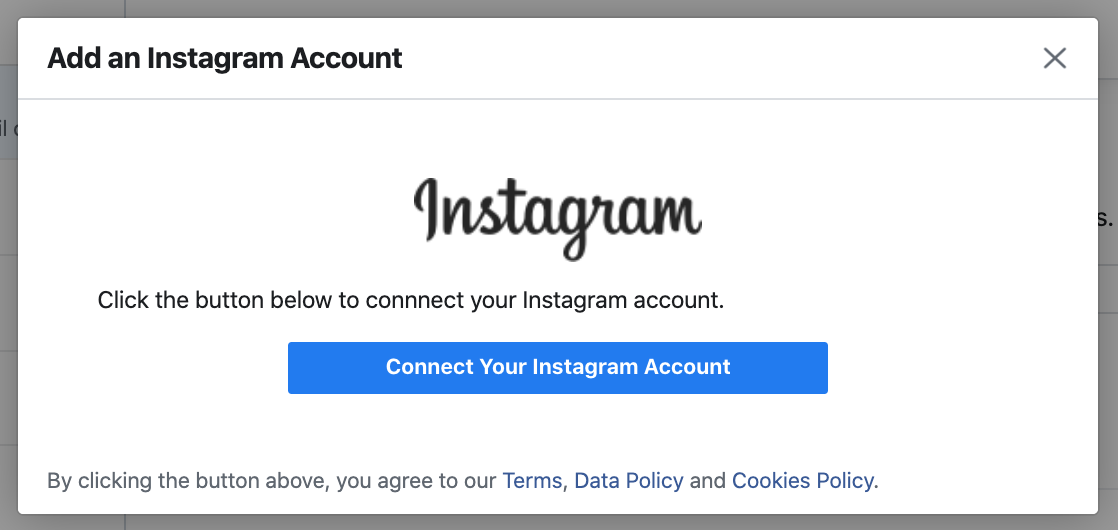
Go ahead and connect your Instagram account.
You’ll have a chance to login to your Instagram account, so make sure that you’re logging into the account that you want to add.
There isn’t any confirmation here, as once you sign in, it will close the box and automatically add the account.
Once it’s added, you’ll see the account listed under “Instagram Accounts”.
Nice.
3. Add Your Team
Here’s how you add people.
On the left-hand bar, select People, then click + Add (just like with pages).
Enter the email addresses of whoever you want to add to your Business Manager.
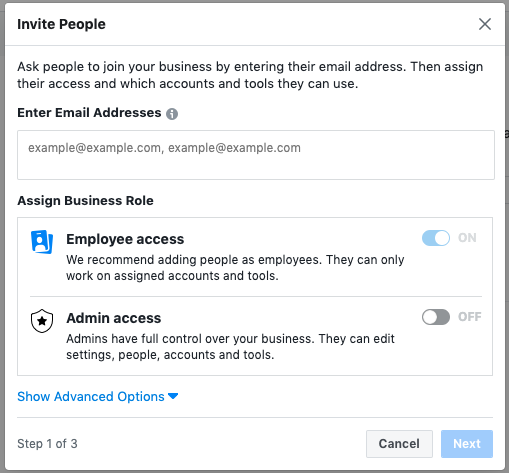
Employee access is the basic access. They can’t change their access or make changes to anything besides what they are assigned to. You get to choose what they are assigned to.
Admin access is full control over your Business Manager. Give this to people you trust and who will be managing your Business Manager.
There are two more roles under Advanced Options, but most of the time you will be adding people as employees or admins.
Click Next.
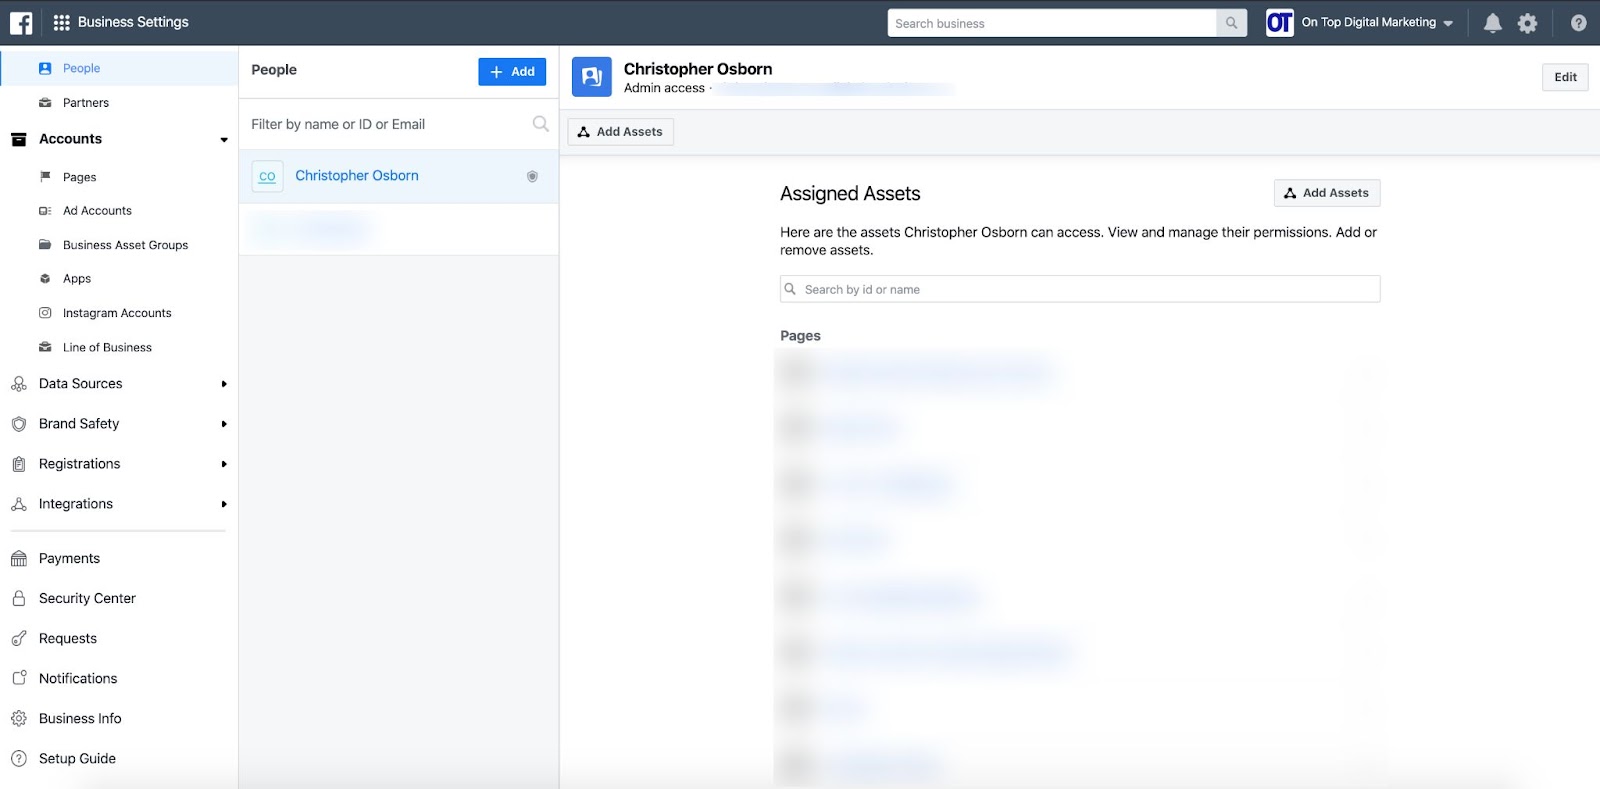
On this page, you’re going to go through the lists of Asset Types, choose each Asset you want this user to have access to, and Set Permissions for each asset.
Choose the assets and permissions for the user according to their actual role within your business.
These settings are what make Business Manager so powerful. You can control what level of access each person has to each asset.
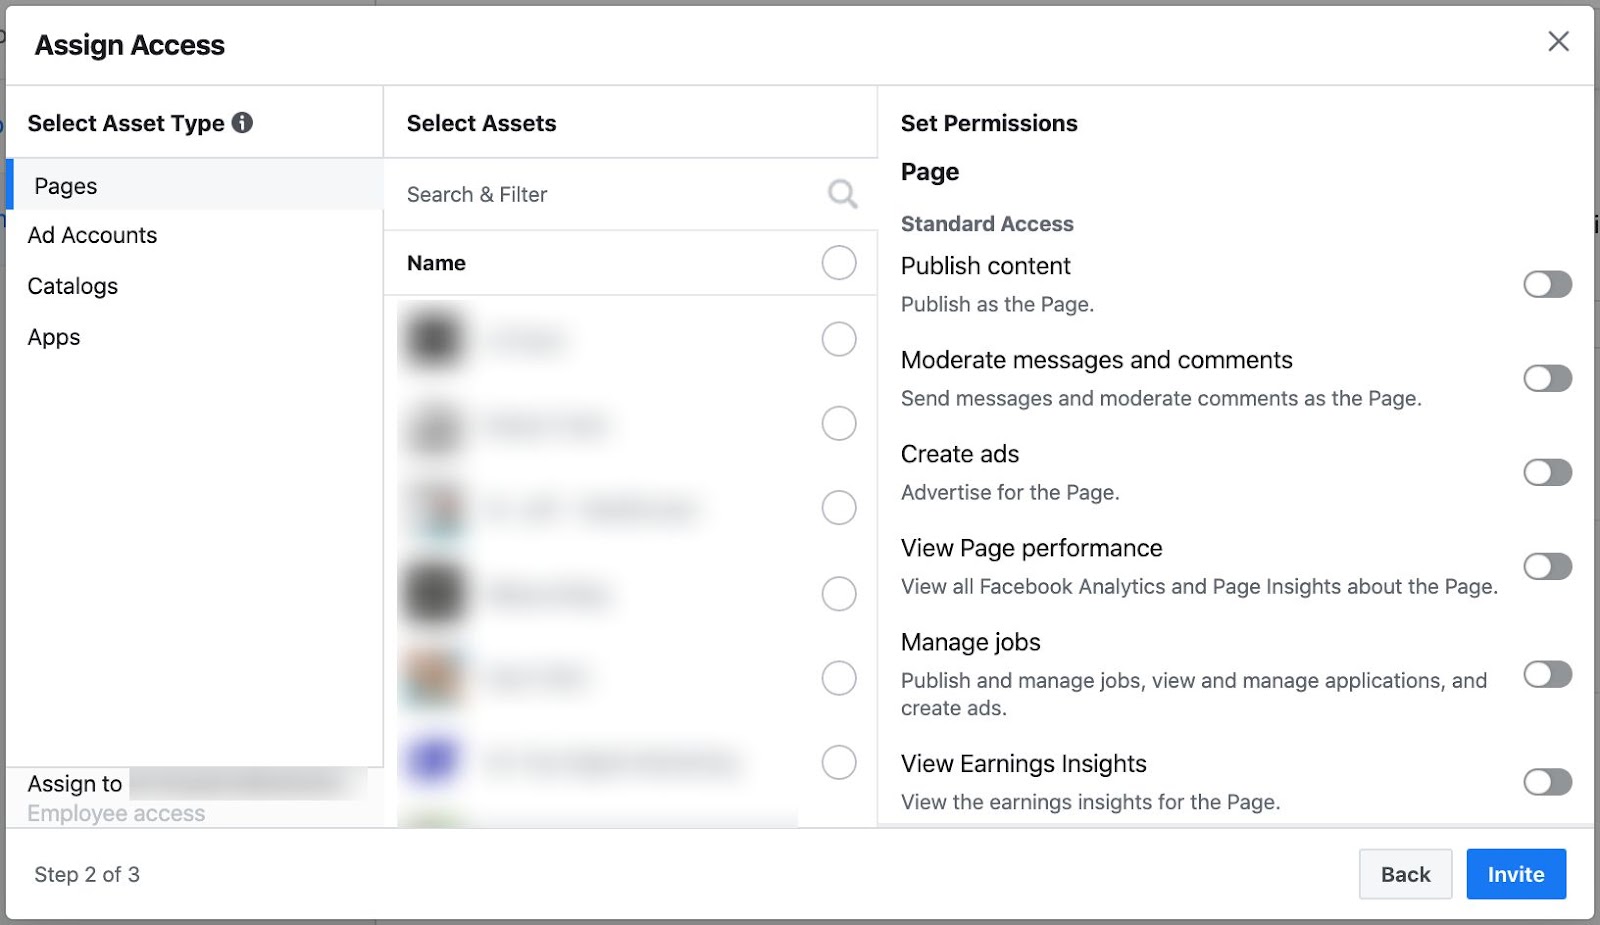
Once you’ve set the assets and permissions to your liking, go ahead and click Invite.
Note: When they get your invitation, they can choose how they want their name to show up in Business Manager, and they will need to verify their Facebook account (if you haven’t noticed yet, it’s hard to manage your business’s Facebook presence without your own Facebook account).
4. Add Your Ad Account
If you haven’t advertised before, you’ll simply create a new Ad Account
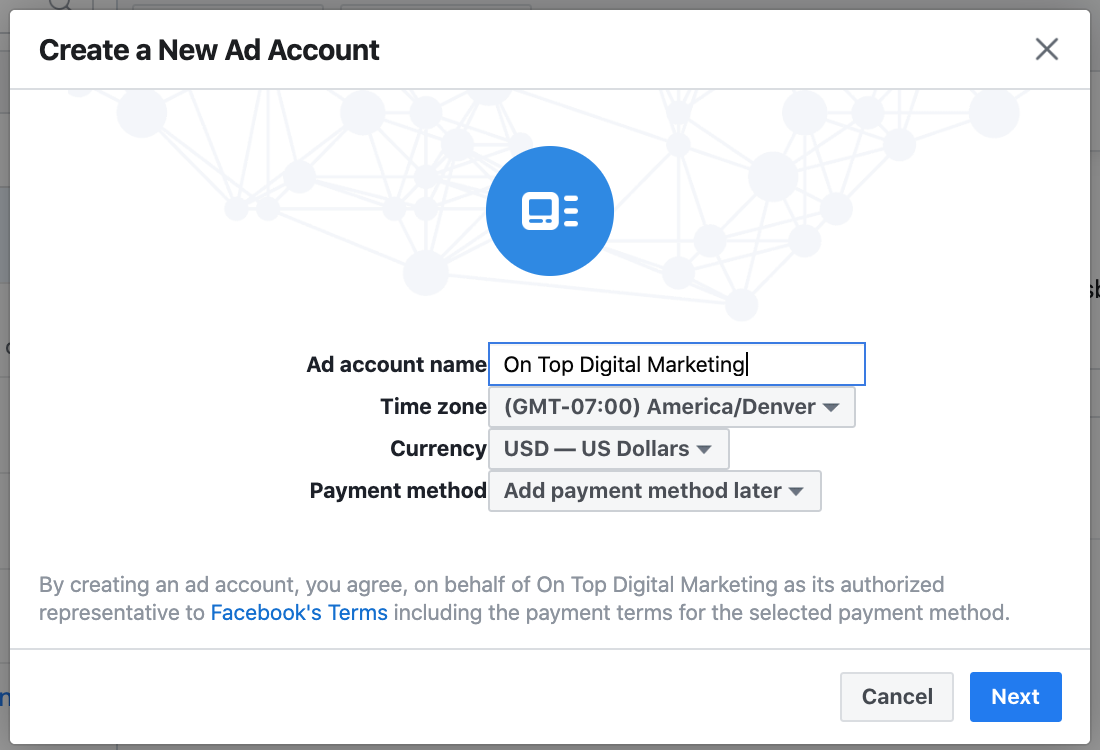
To do this, select + Add then Create a New Ad Account.
Nice, now choose a name, time zone, currency, and if you’ve already added one, a payment method (choosing Add payment method later is fine).
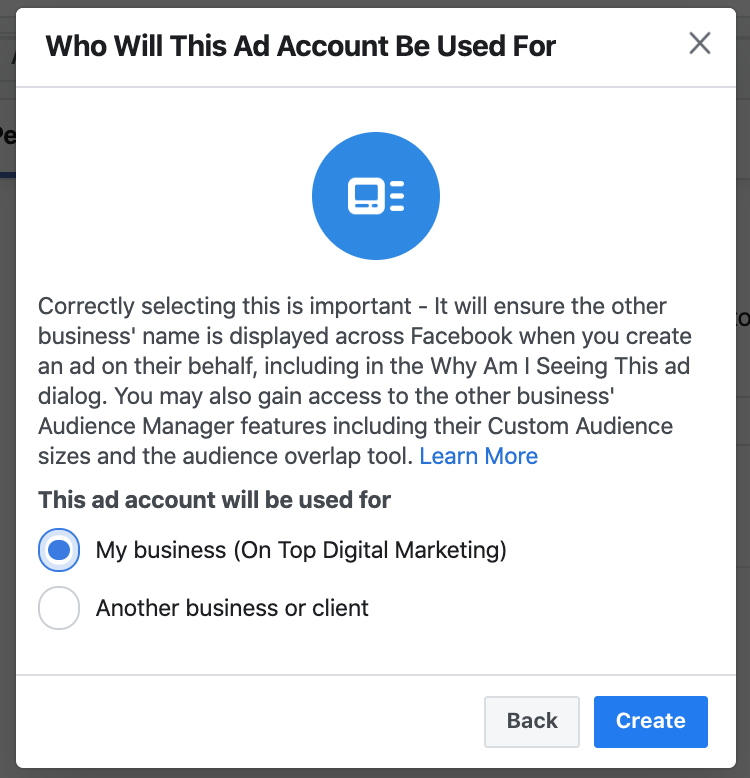
This next page is simple. If you’re creating an Ad Account for your business, select My business. If not, select Another business or client.
The latter is for if you’re advertising for another business. You can then select them from your partner list.
If you are already advertising for your business on Facebook, or have advertised in the past, you already have an Ad Account, even if you don’t think you do.
That’s because every ad you create including those through “Boosted posts” (gross, don’t do that), is created inside of an Ad Account, even if you didn’t know that.
You’ll need to add this ad account to your Business Manager.
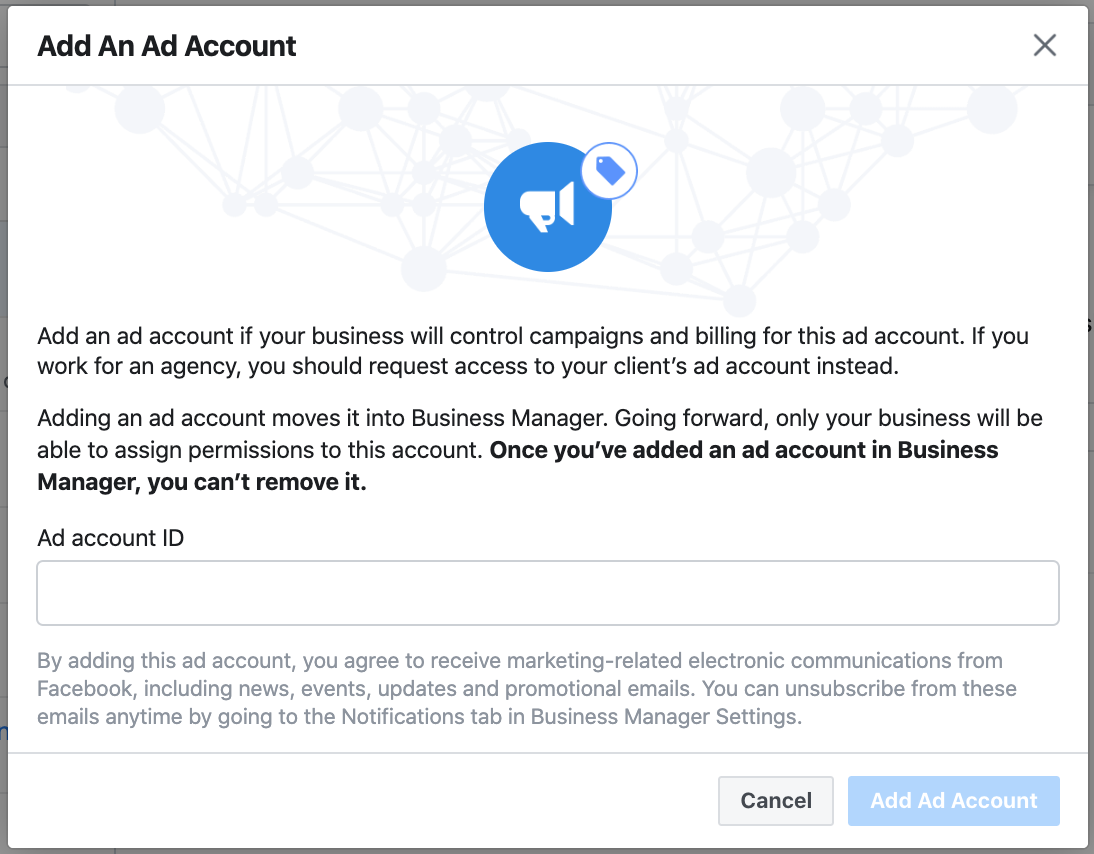
Start by selecting Add an Ad Account after clicking + Add.
Next you’ll need to find your Ad Account ID.
To find your ad account ID, go to facebook.com/adsmanager.
Here you will see one of two pages.
If you only have access to one Ad Account, you’ll see this.
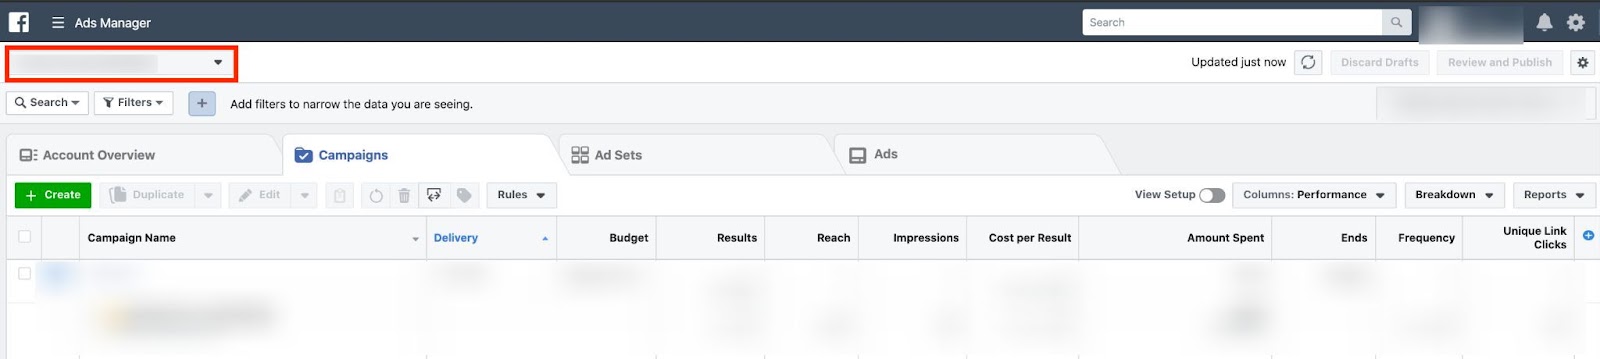
If you see this page, your Ad Account ID is up in the left hand corner.
You can also find it in the url after “act=”

Now put that ID number into Business Manager and select Add Ad Account.
It may also give you a chance to assign people permissions to the ad account once you’ve added it.
5. Create Your Facebook Pixel
The Facebook Pixel is a little piece of code that you install on your website and you use it to track activity on your website.
I can’t express how important it is to have the pixel installed on your website!
I personally refuse to run any ads to websites without a pixel. You’re just asking to have higher costs and less effective campaigns.
Even if you’re not advertising, it’s possible that you’ll want to in the future, so it doesn’t hurt to install it now and get ahead of it.
Okay, now create a new pixel by going to Pixels underneath Data Sources.
If you don’t see Pixels, be sure to click on Data Sources to uncollapse it.
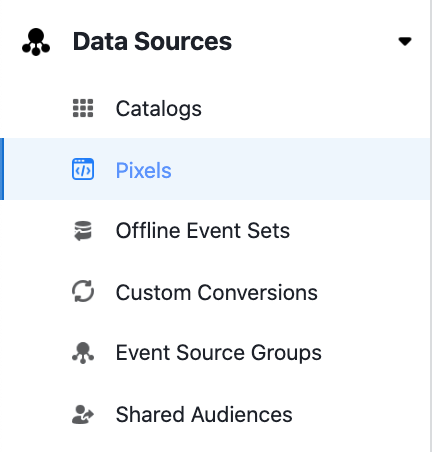
Then click + Add and create and setup your pixel!
The pixel itself is a completely new subject and isn’t in the scope of this post.
You’re Done!
Don’t forget to continue to add assets to your Business Manager as you create them, and assign everyone who needs access.
There’s still a lot more with Business Manager that isn’t covered here, but these steps are the core to getting started and will make up most of what you do in Business Manager.
Good Luck!
0 Comments